

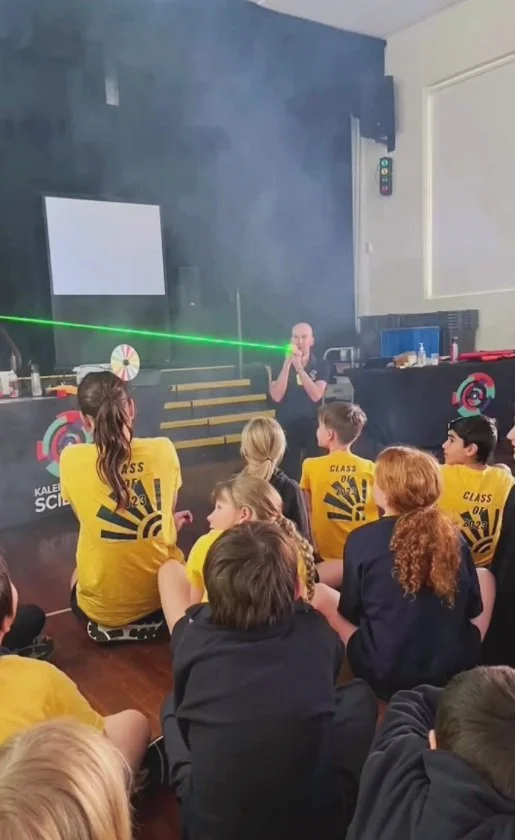
Light & Sound Energy
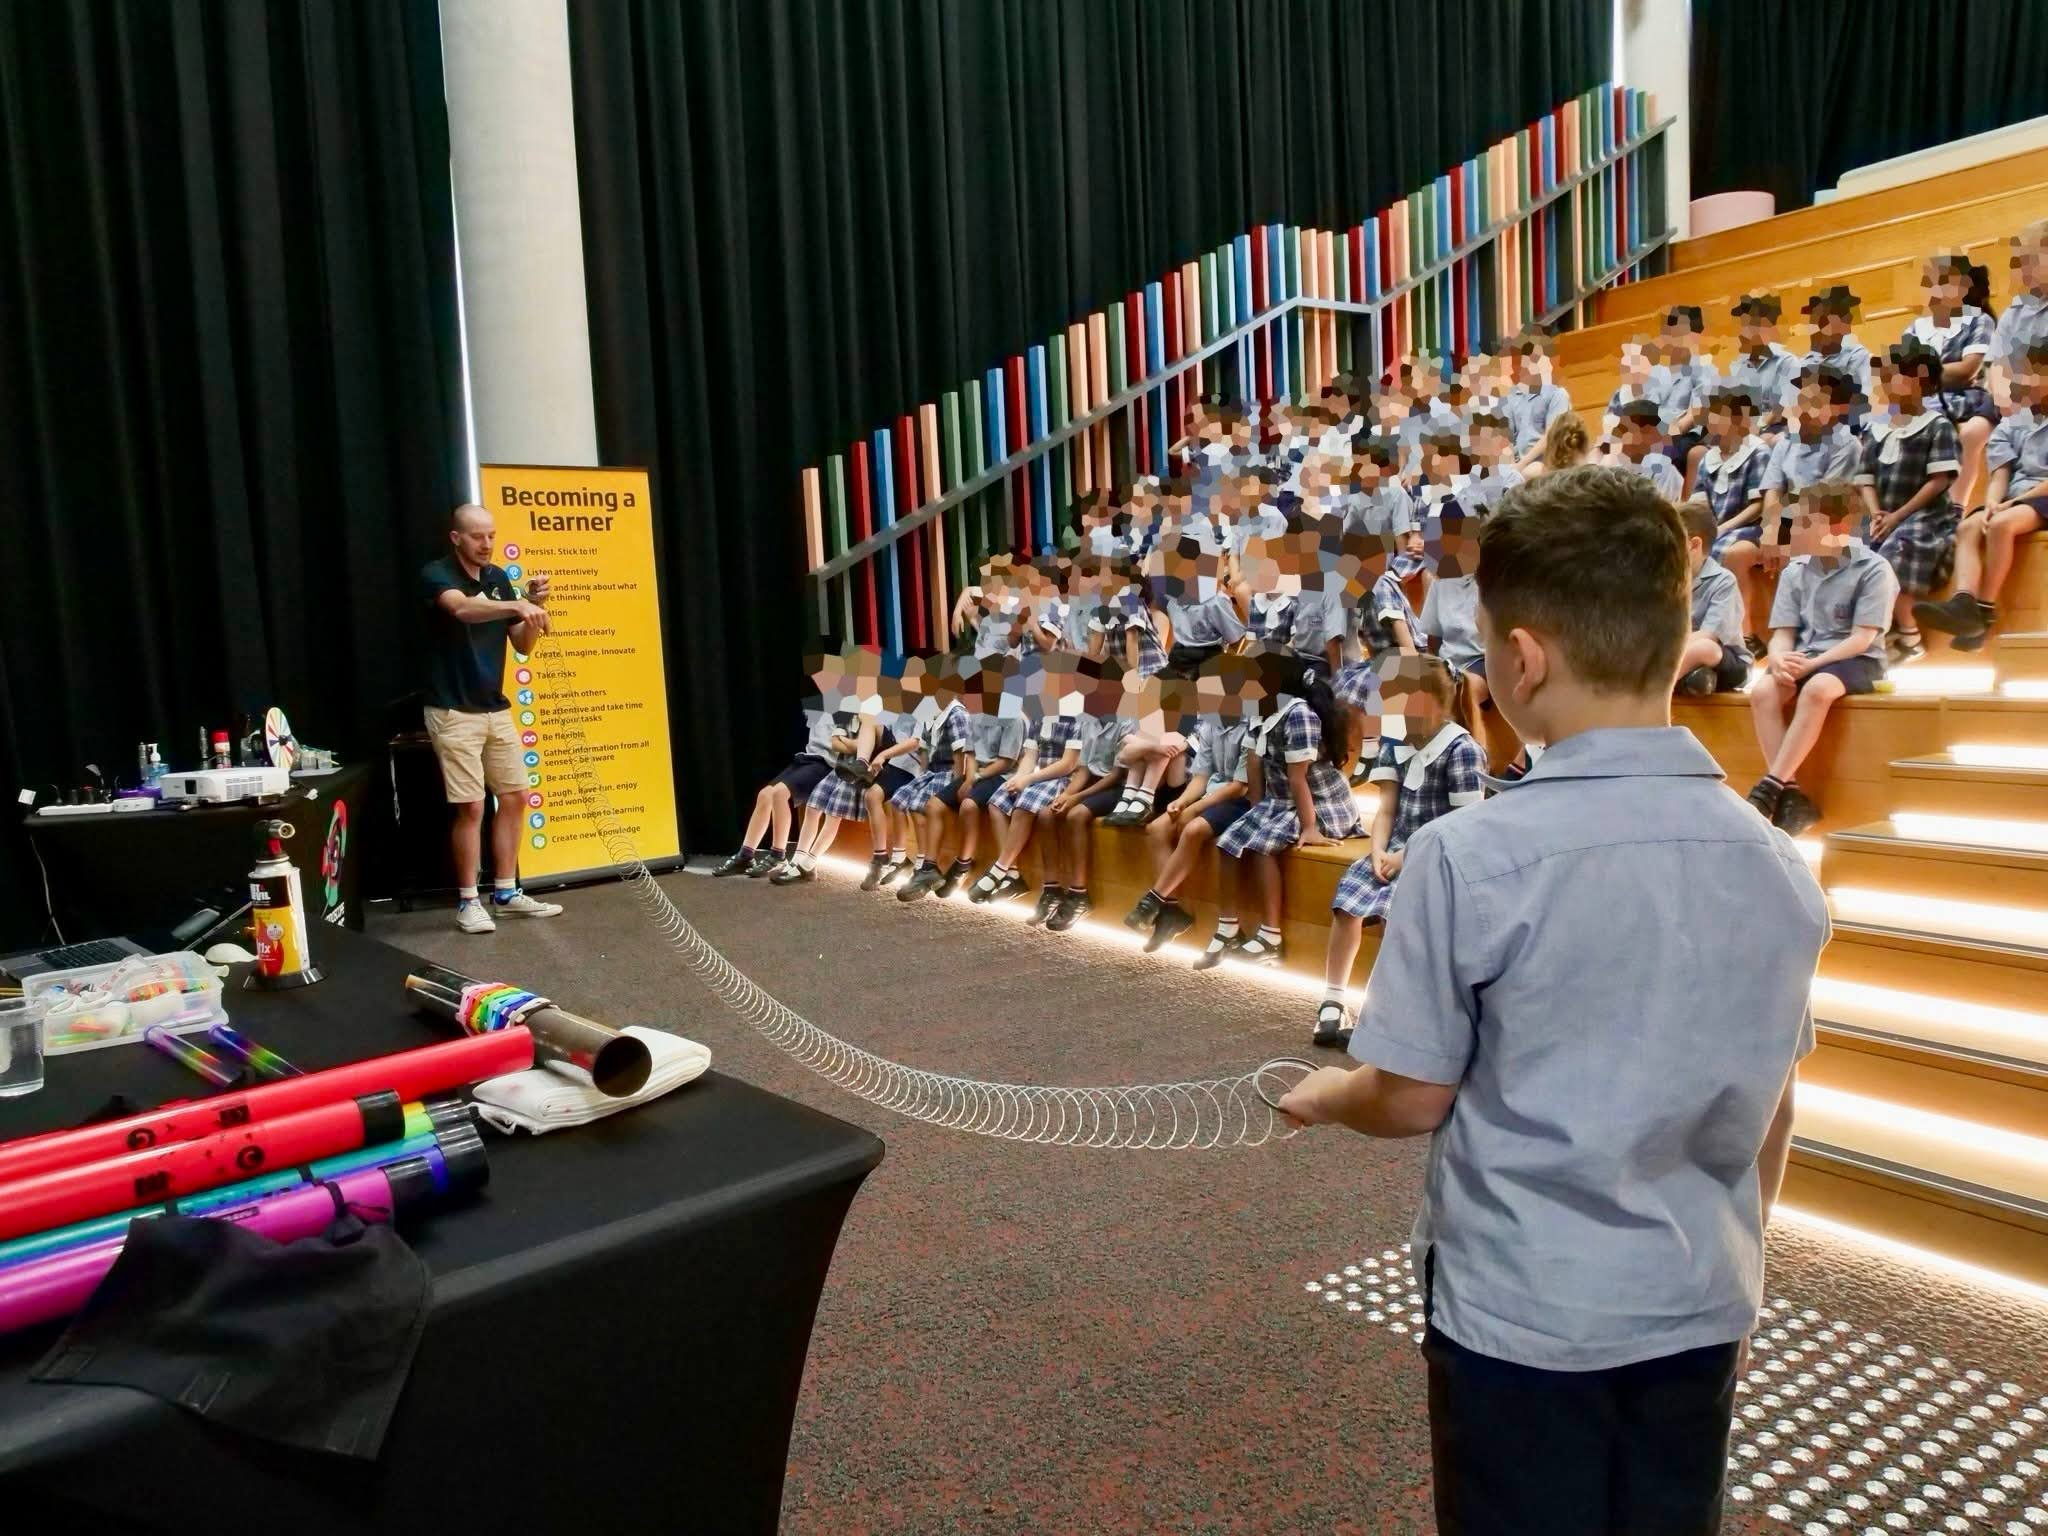
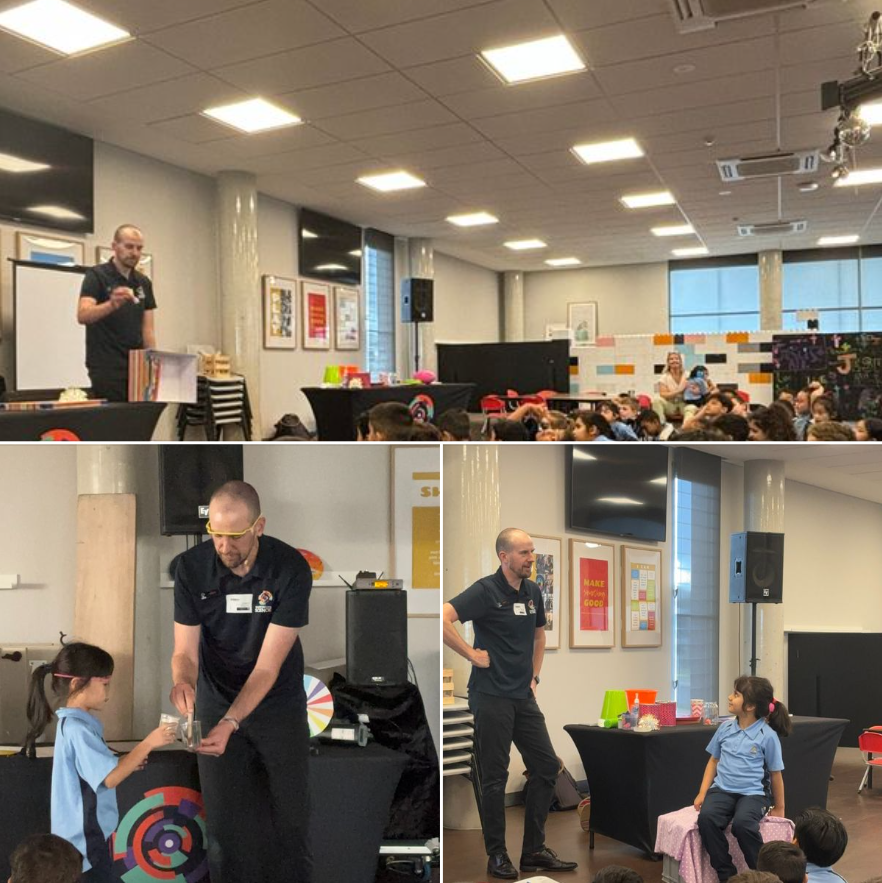
This 60-minute interactive show tells the story of light and sound through a selection of musical, colourful and spectacular demonstrations. We’ll cover how light and sound are made, how light and sound move around and how scientists can help people see and hear things better with inventions and technology.
-
Light experiments
Energy sources for making light
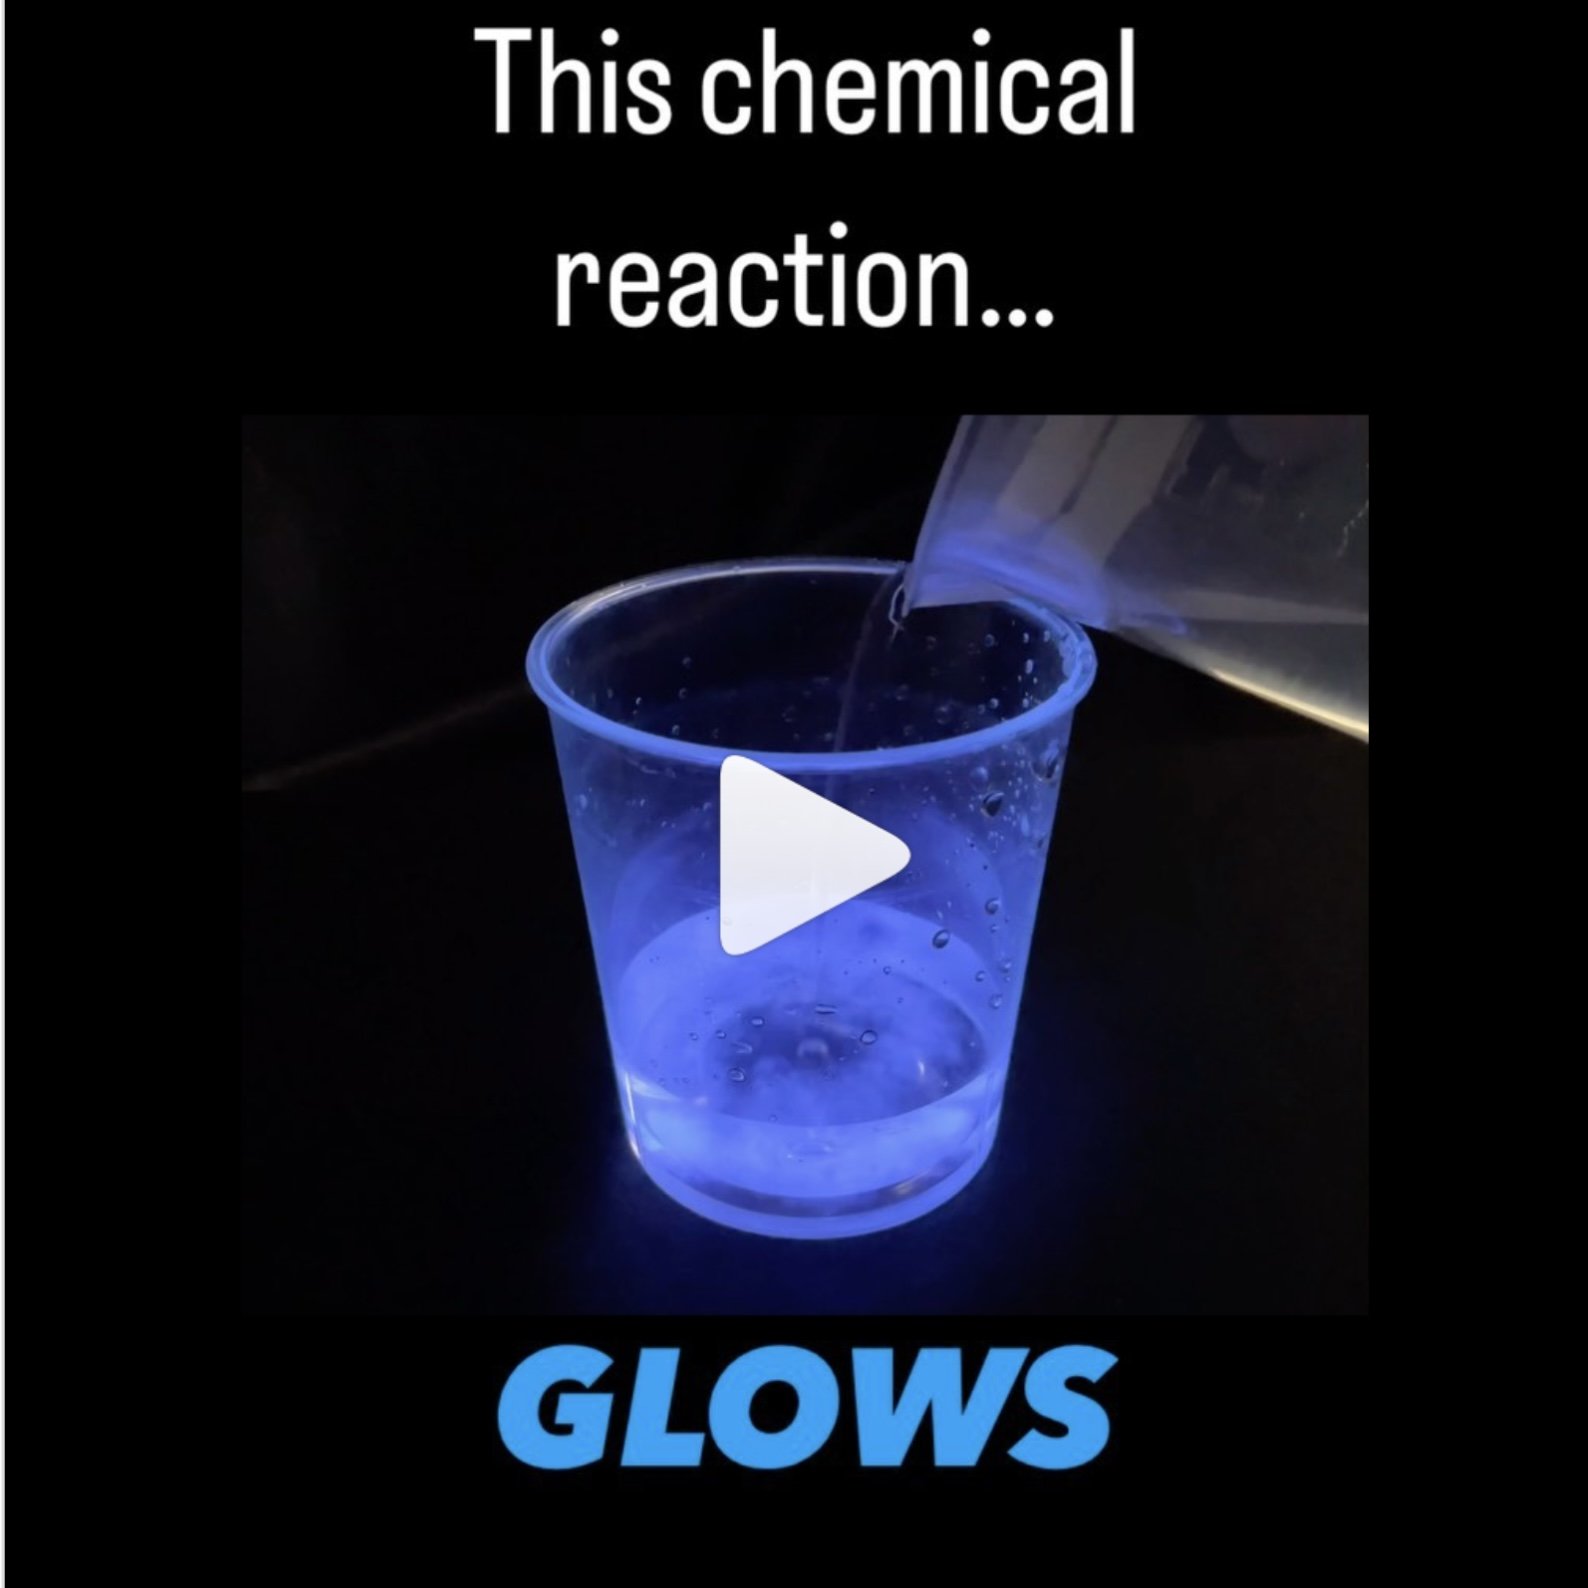
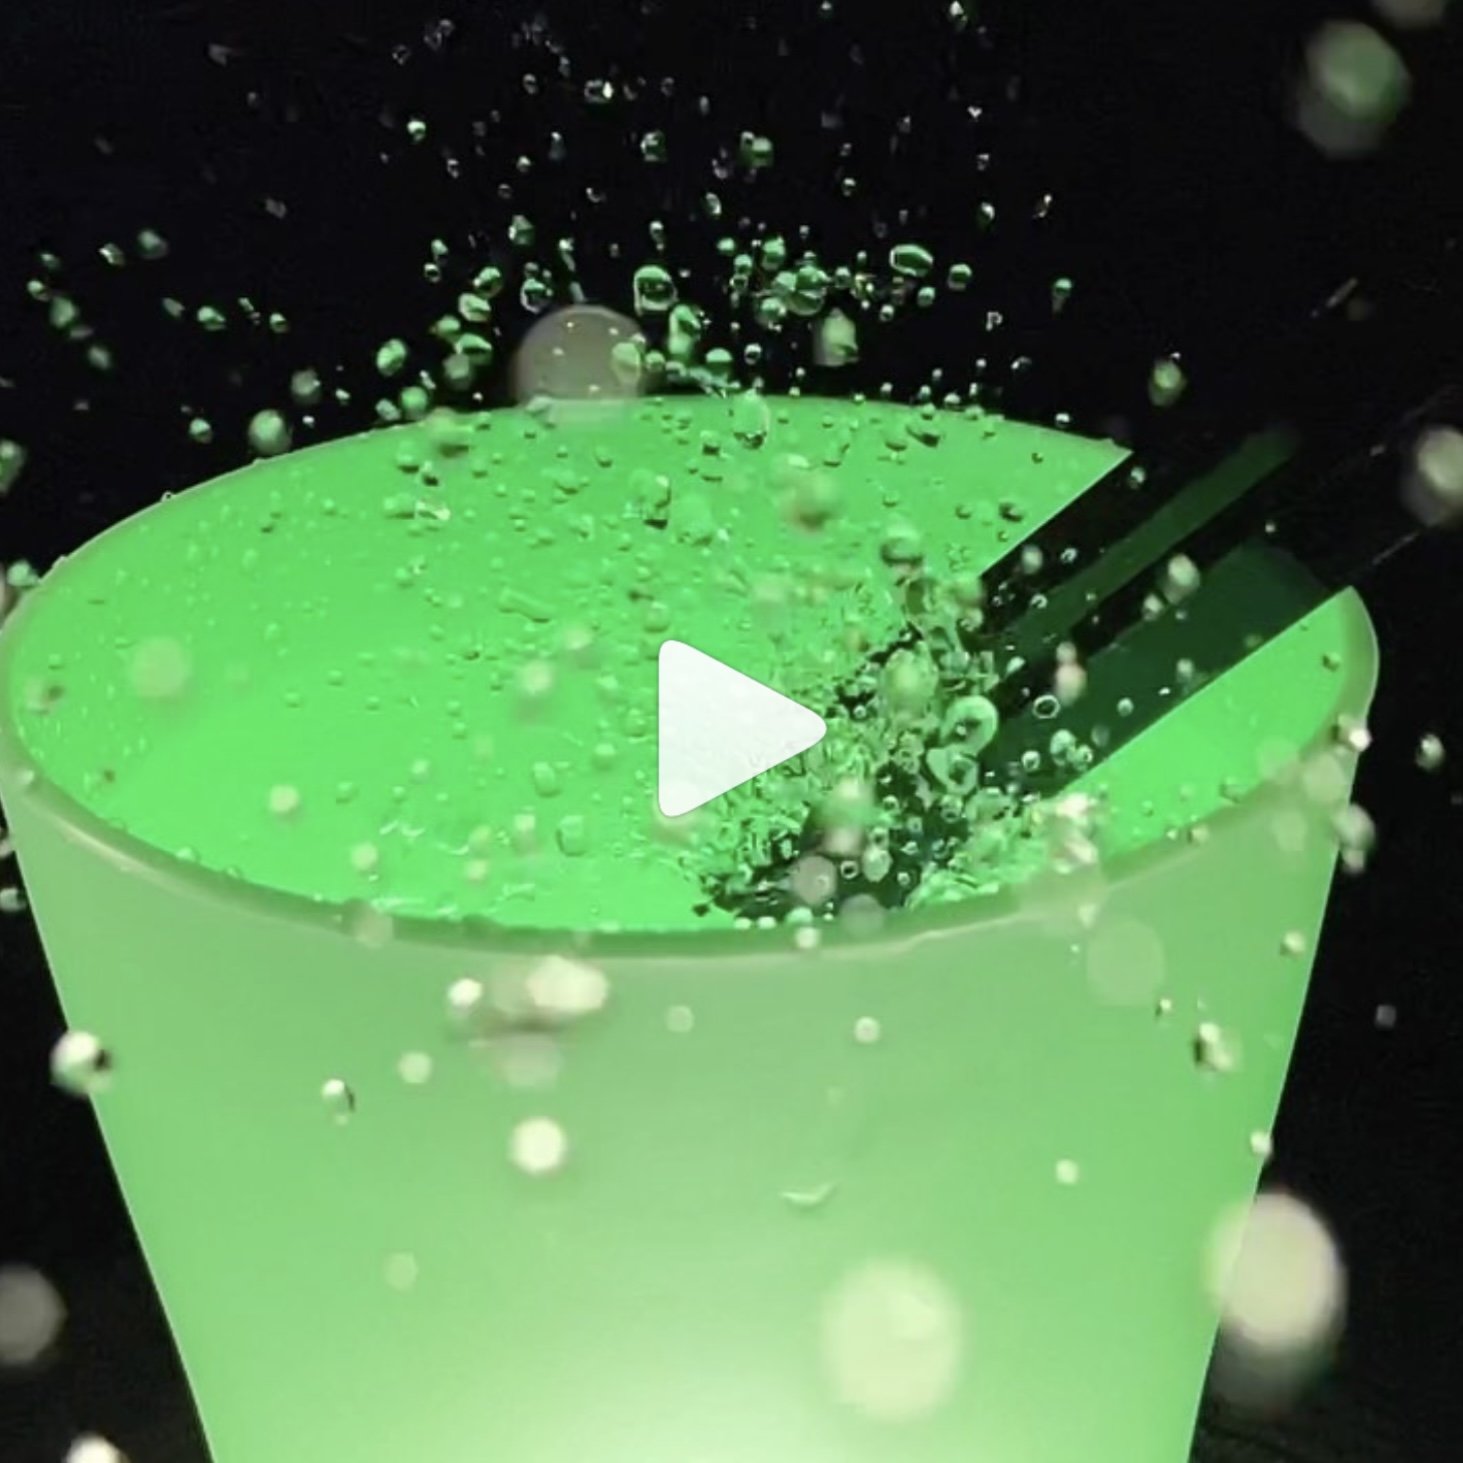
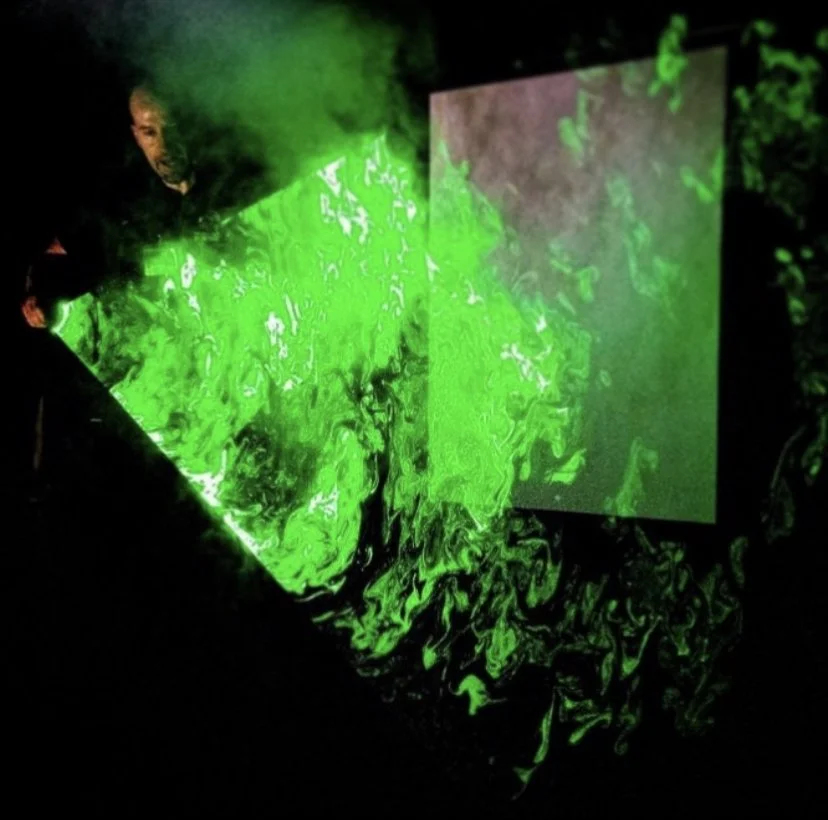
Glowing chemical reaction
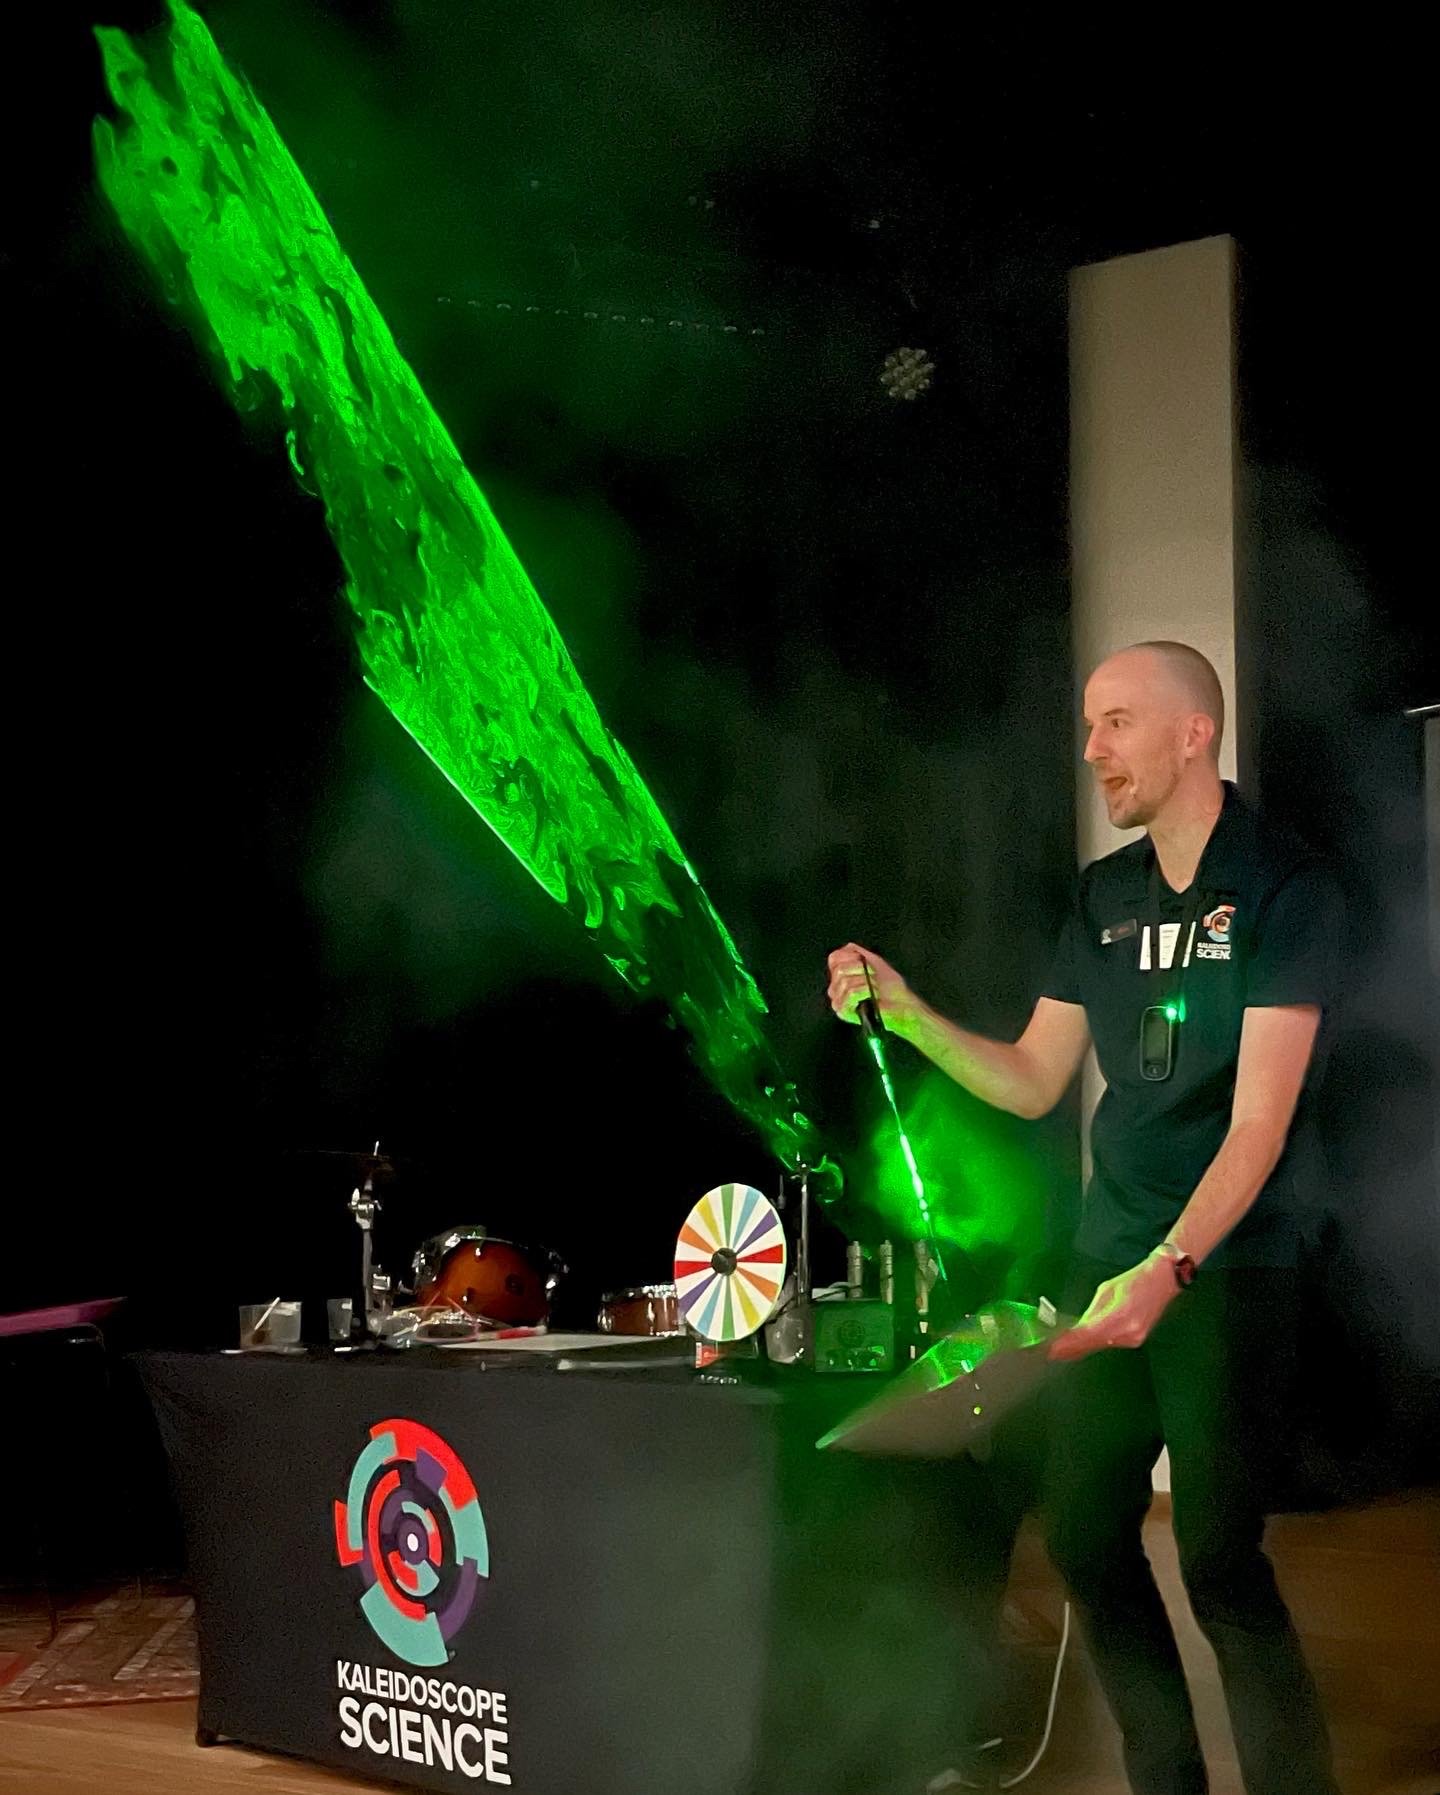
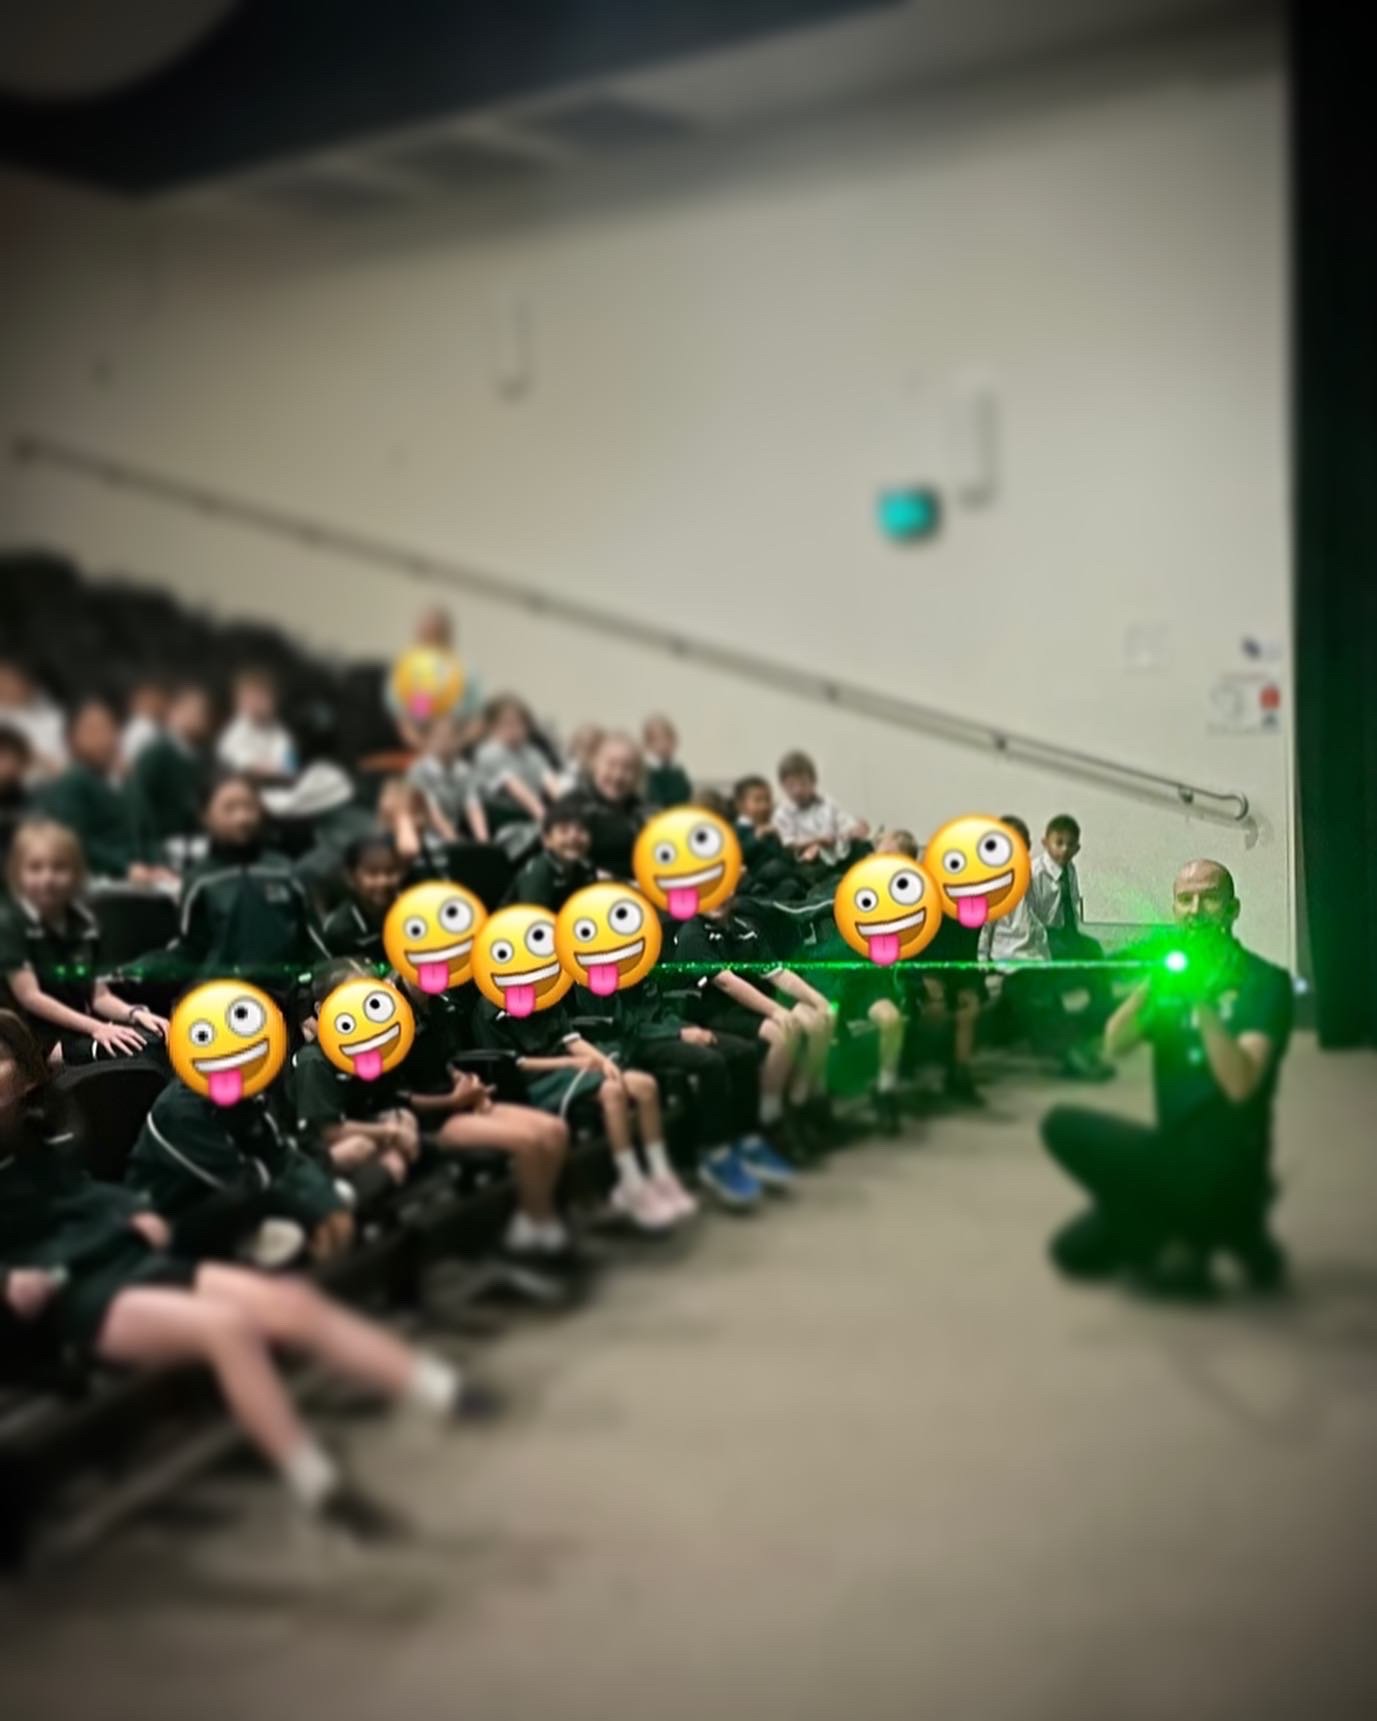
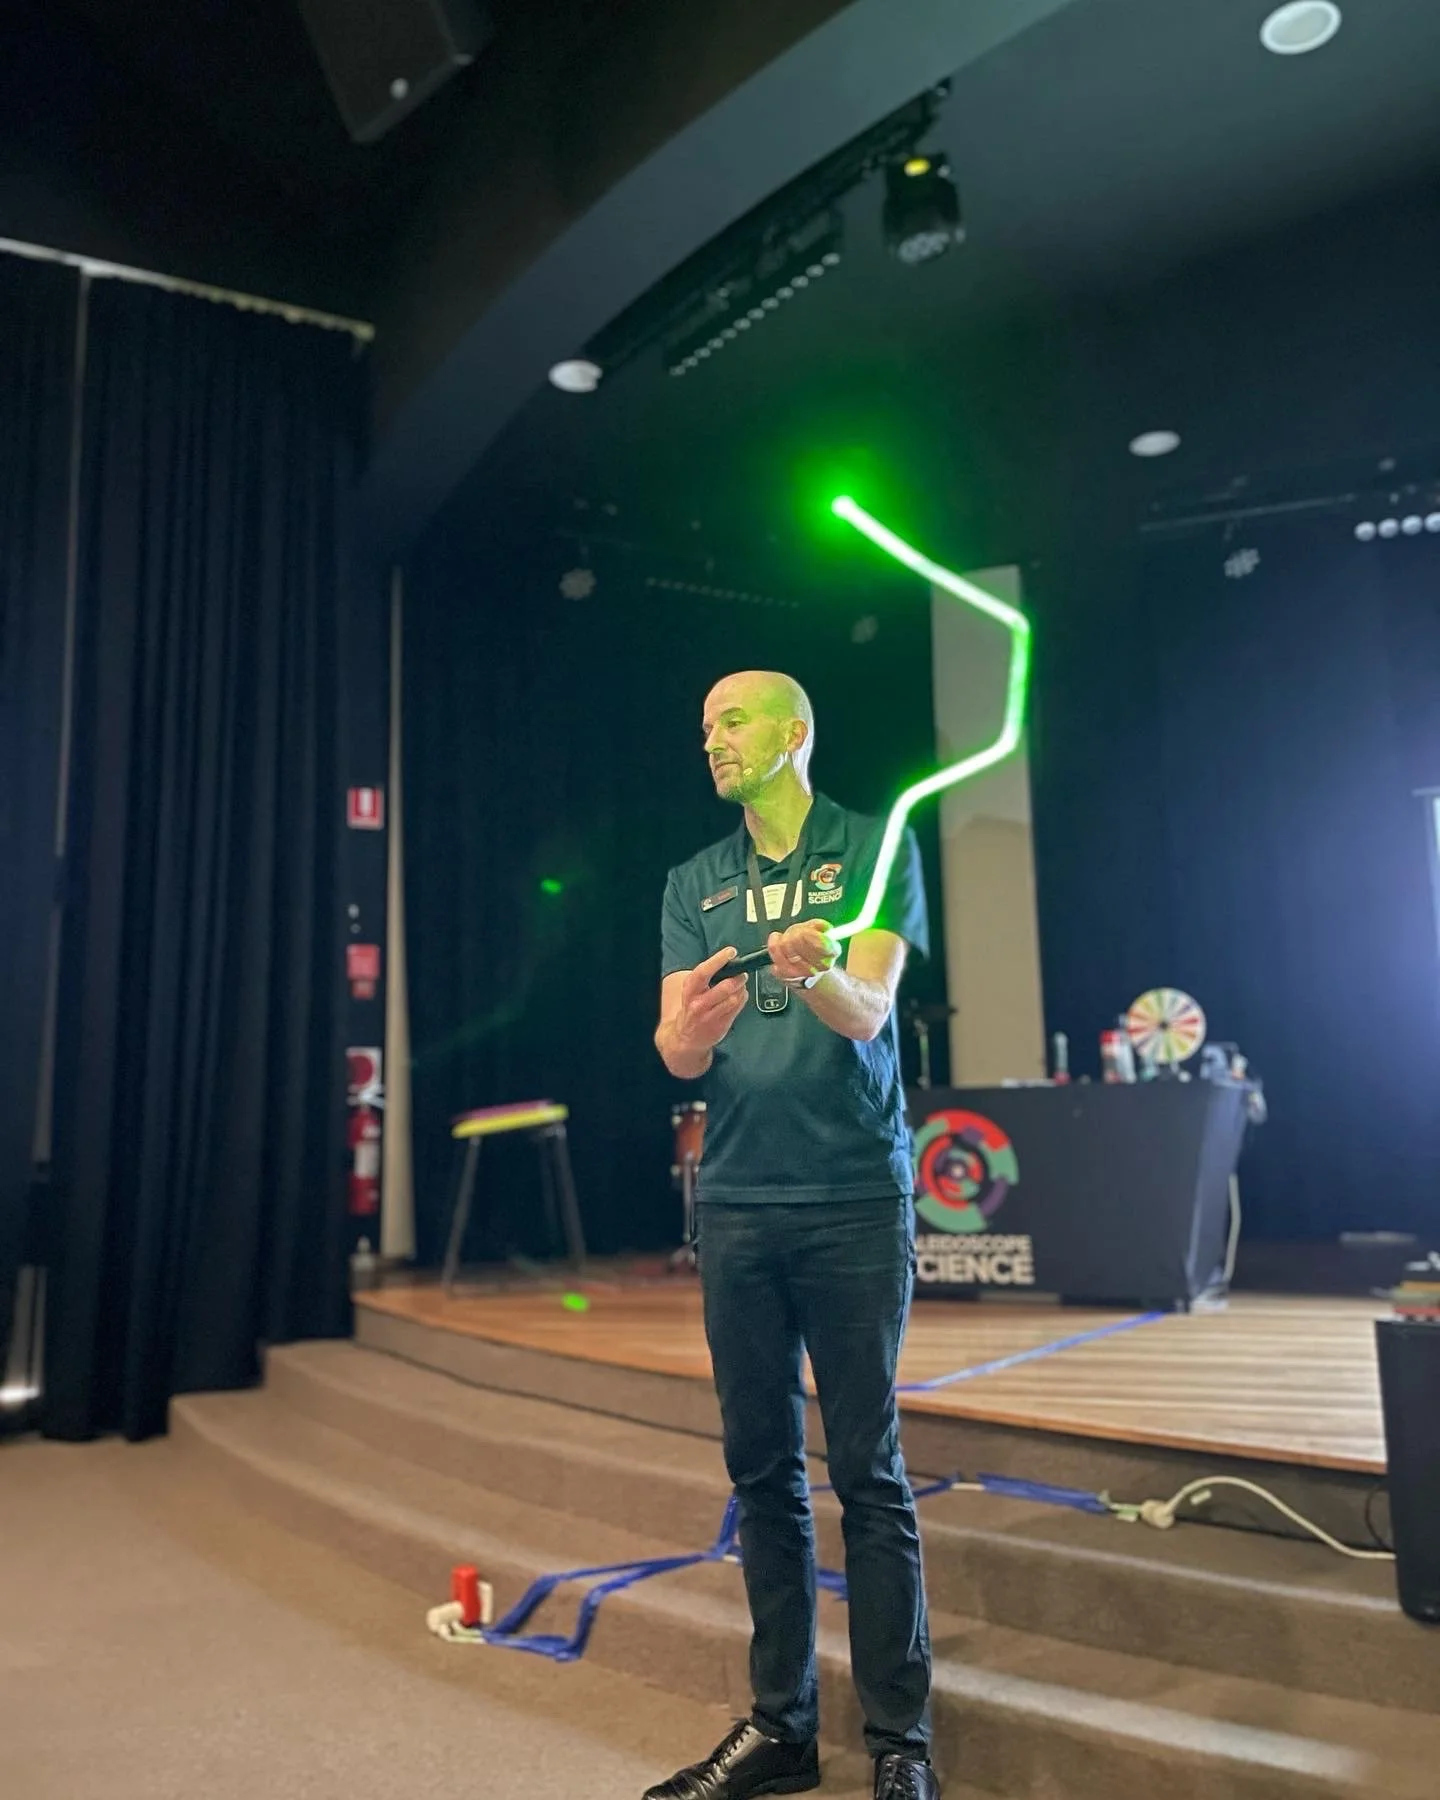
Using laser beams to see how light moves
Reflection, lenses & other materials
Glow-in-the-dark images
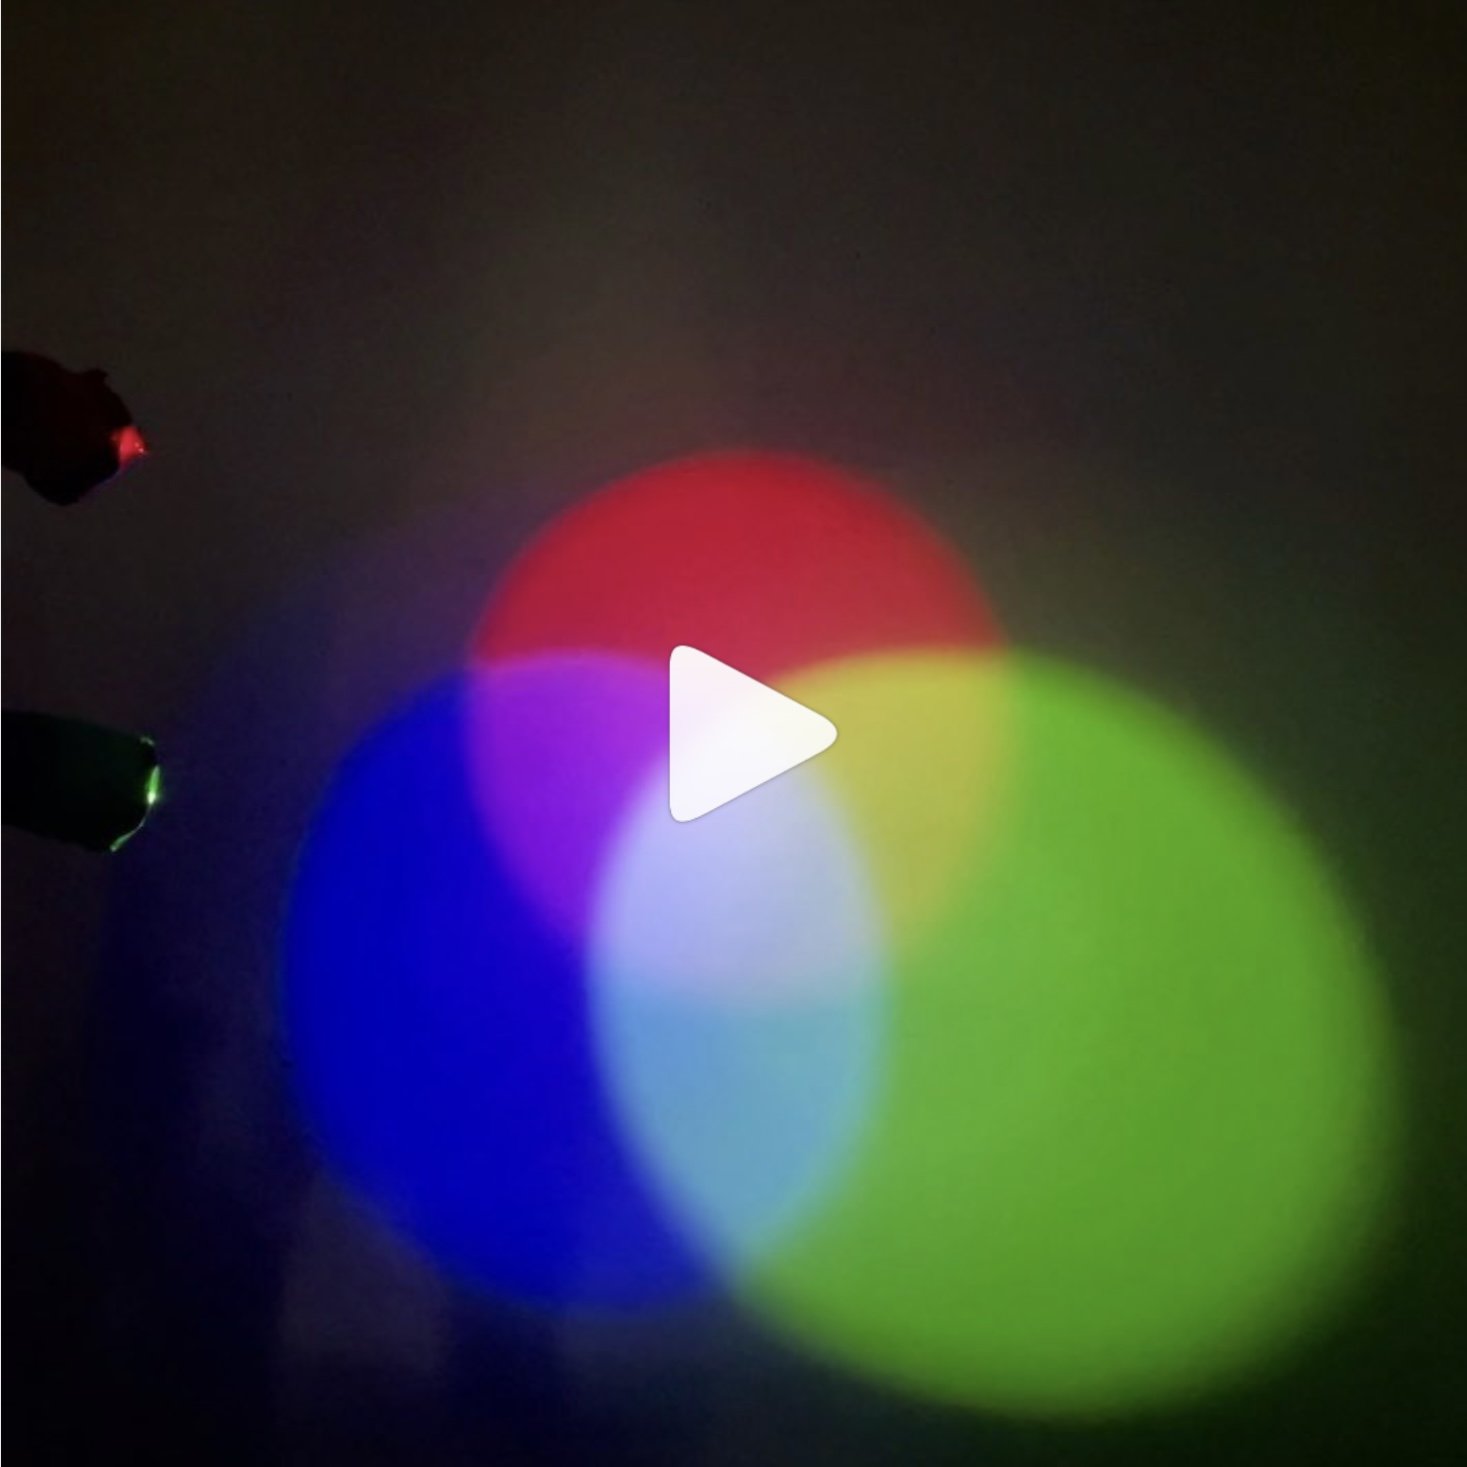
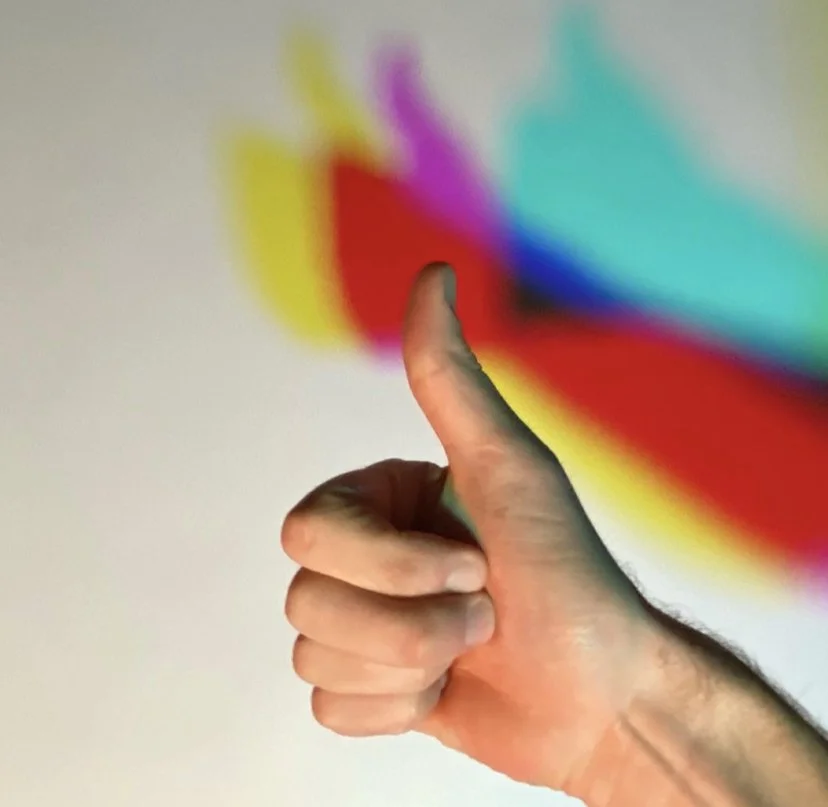
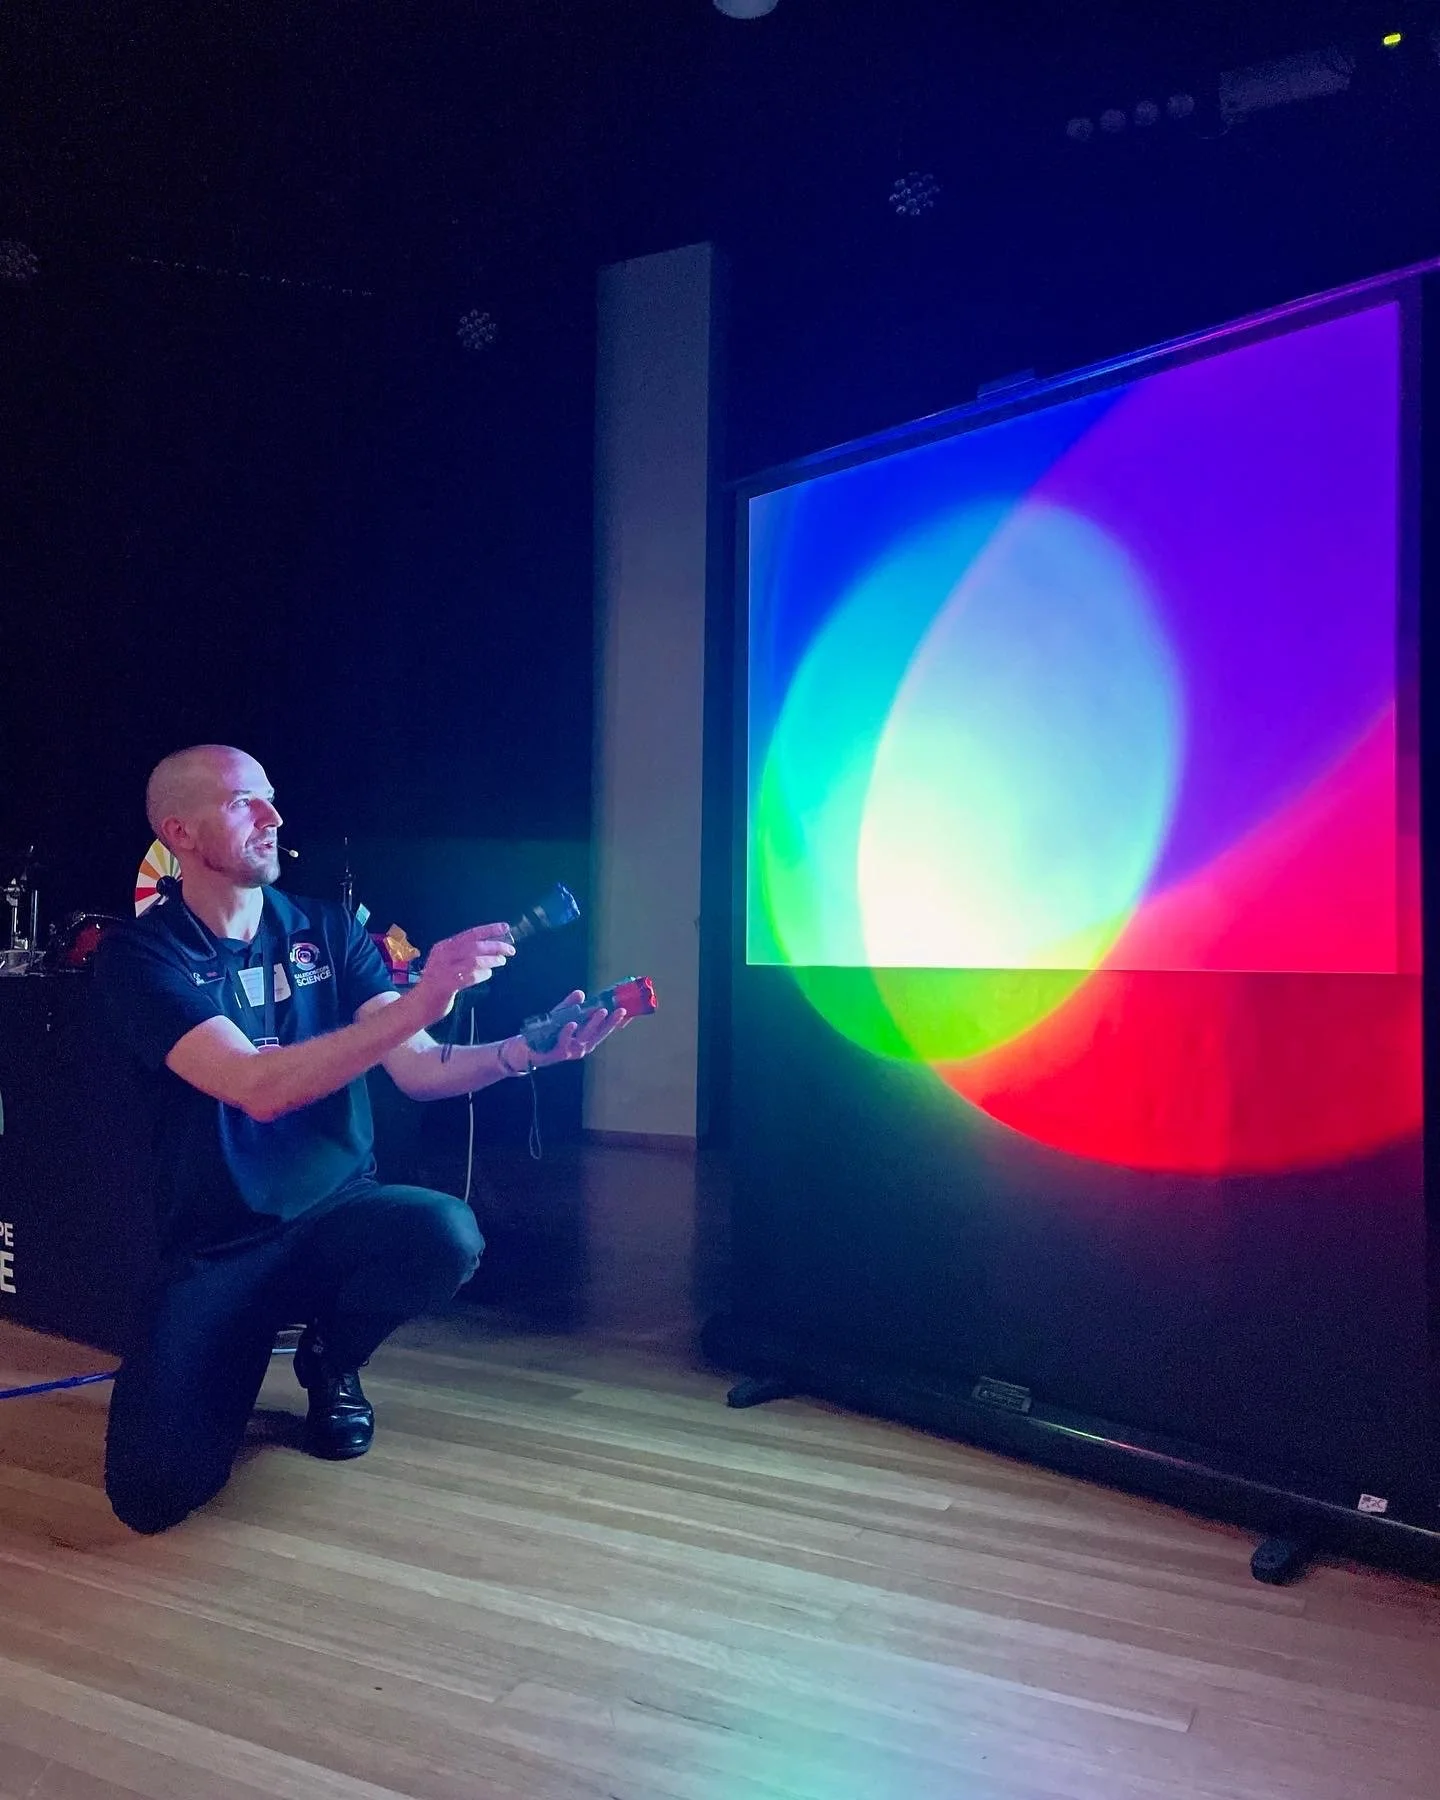
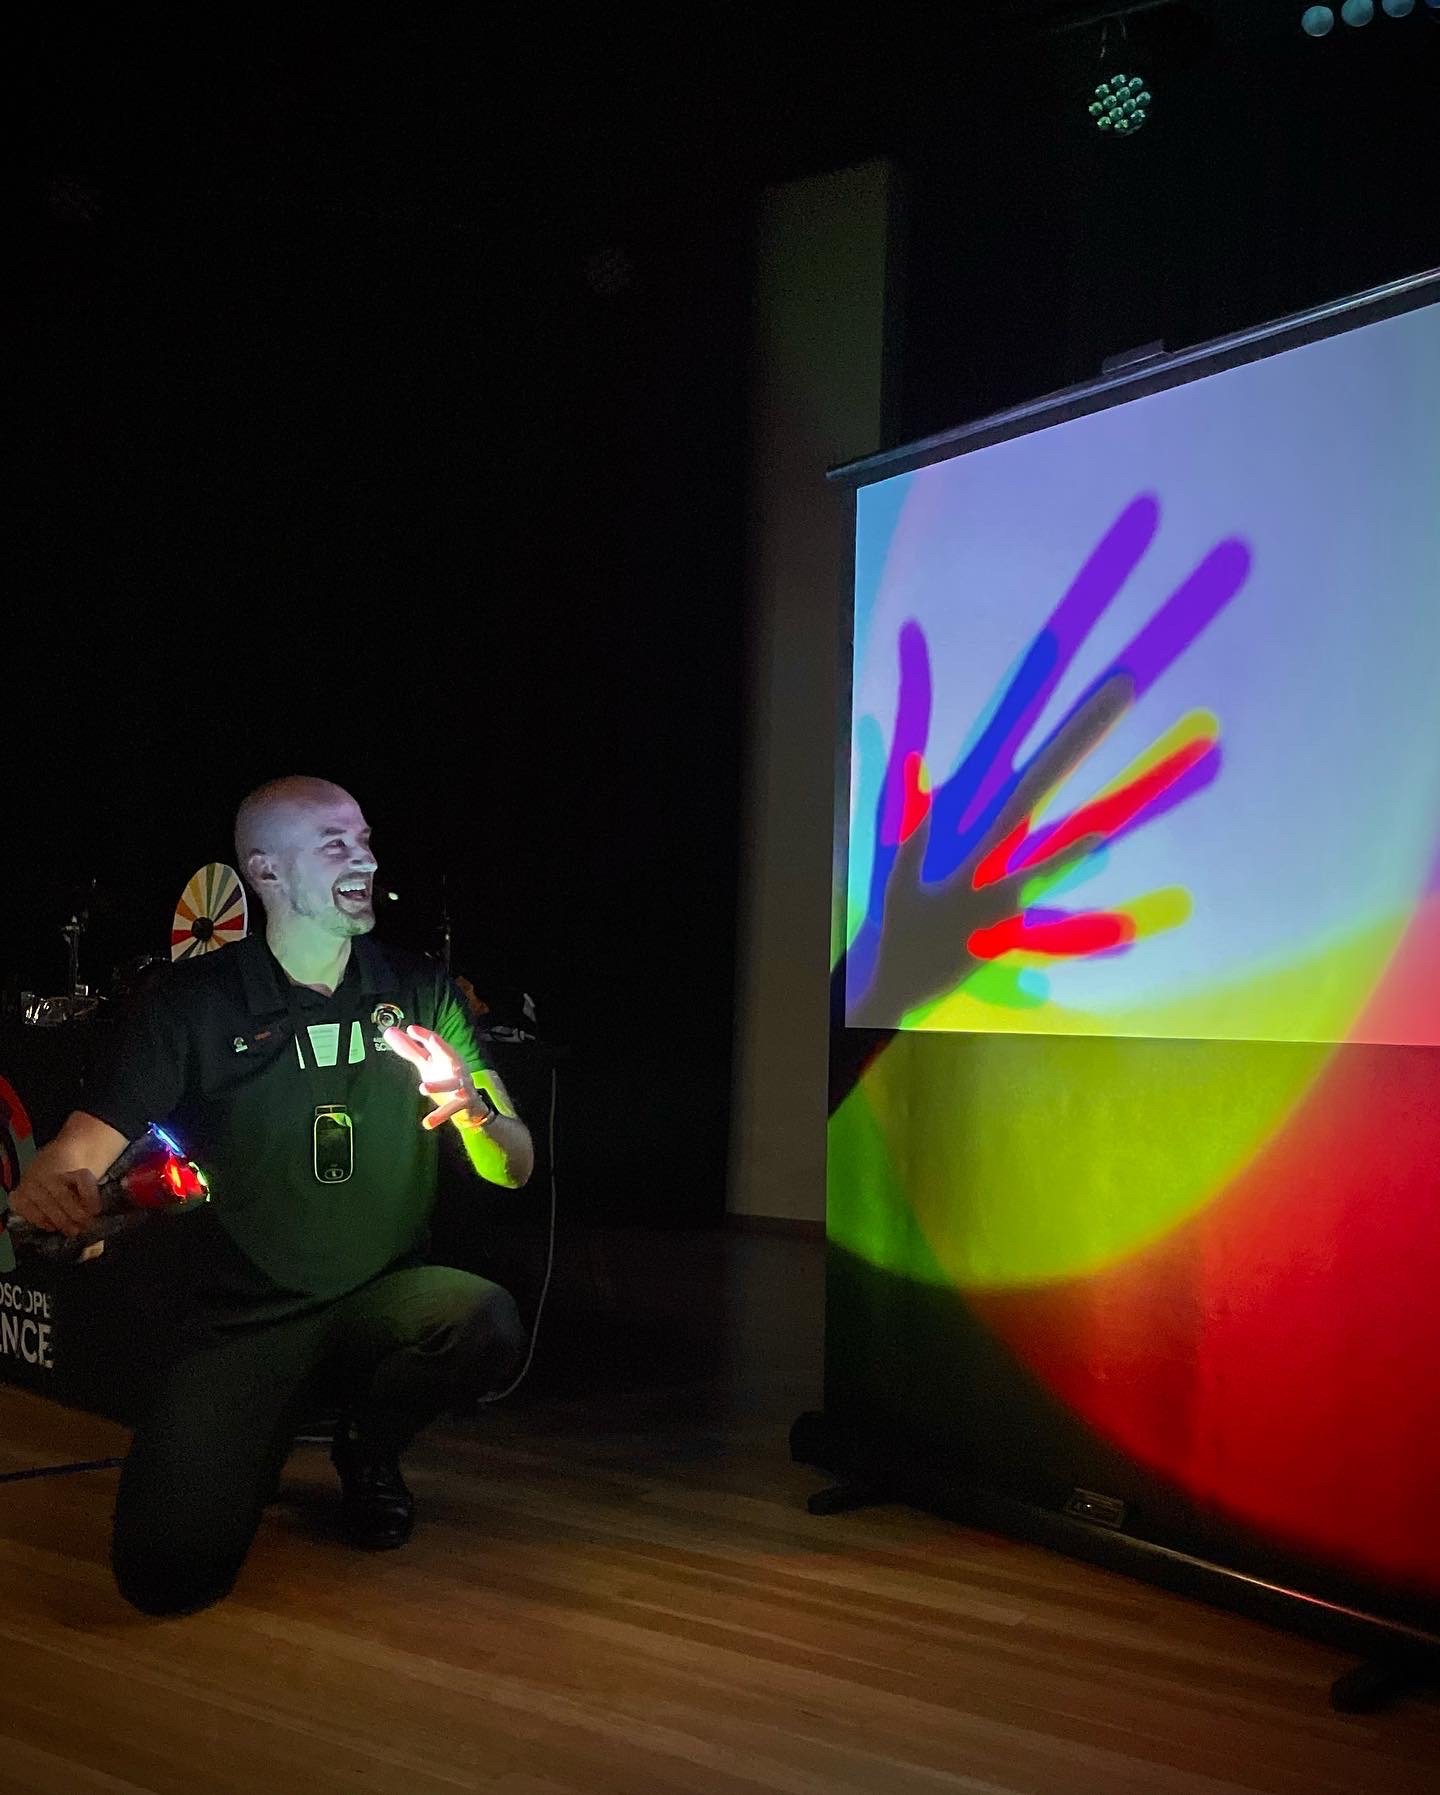
Colours, rainbows & optical illusions
Sound experiments
Energy sources for making sound
Fire-powered noise maker
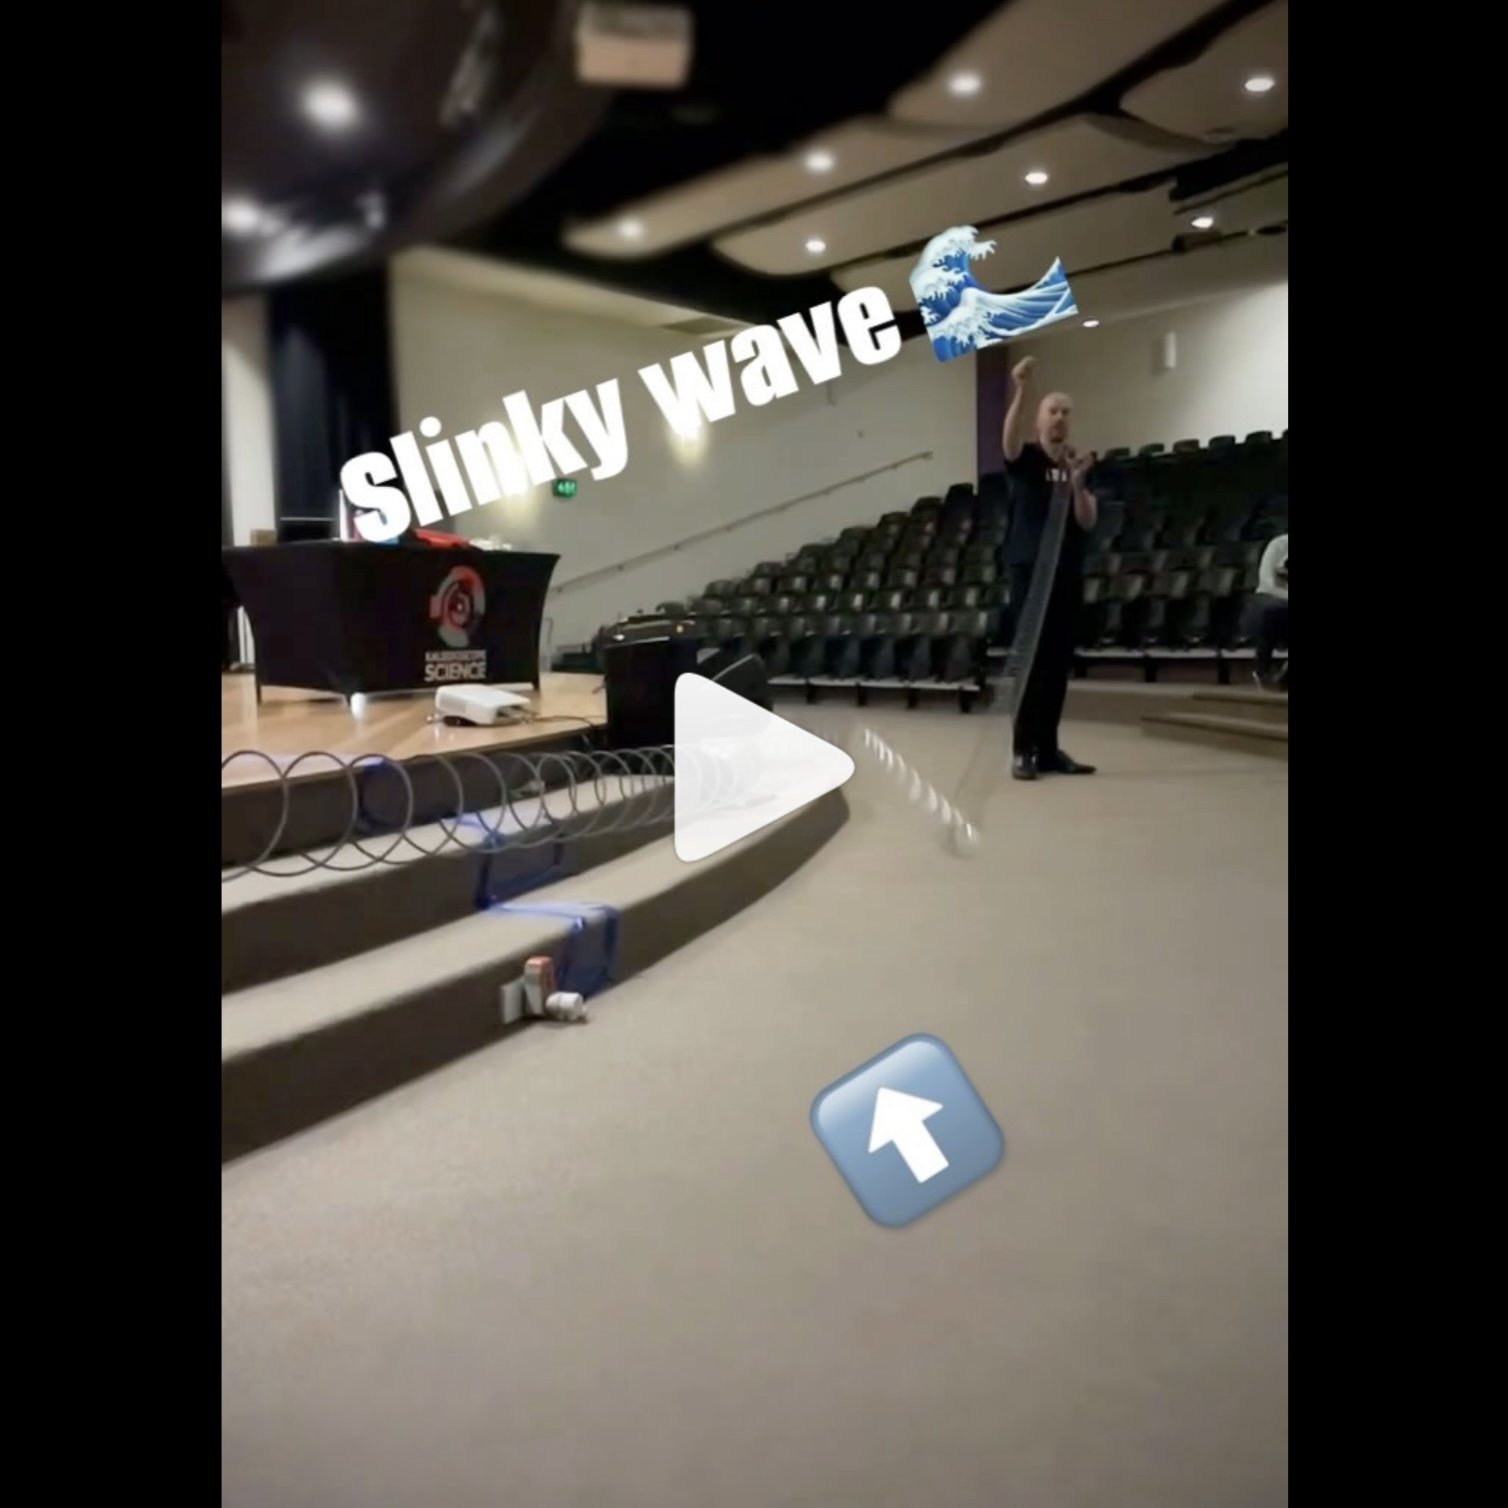
Using water and slinky to see how sound waves move
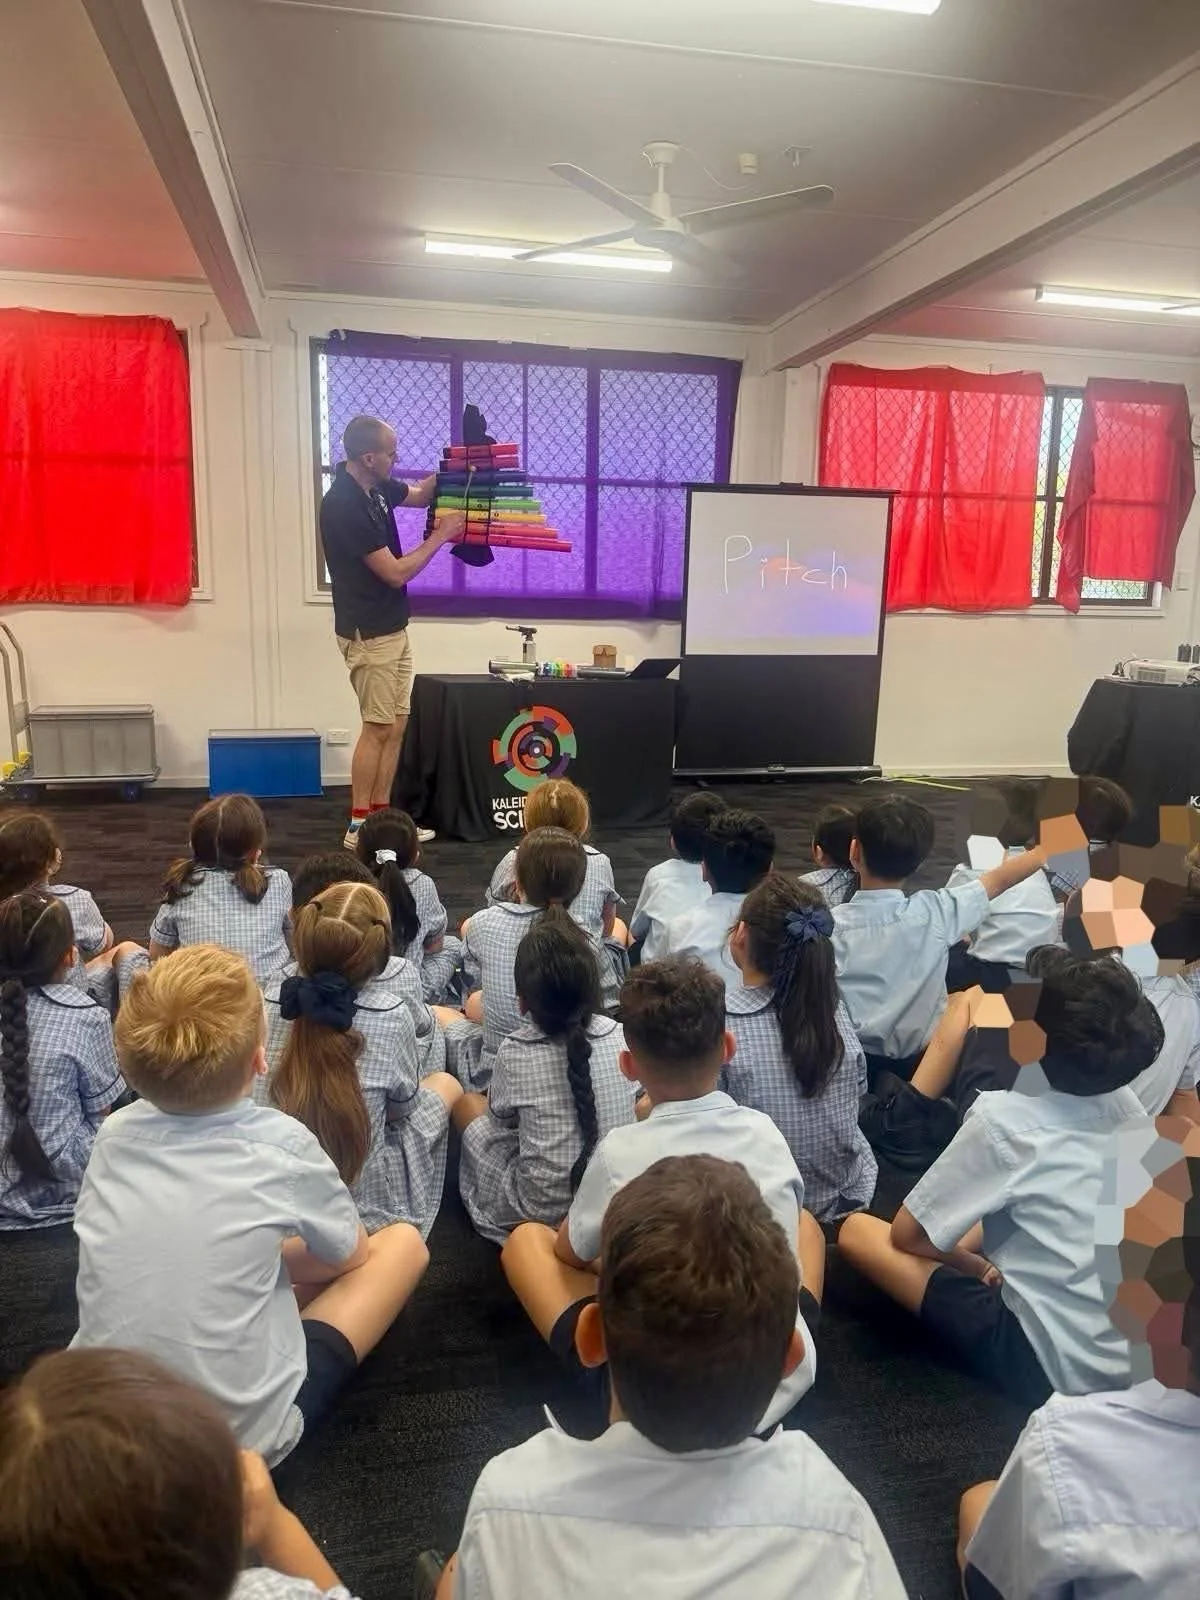
Vibration, pitch and volume
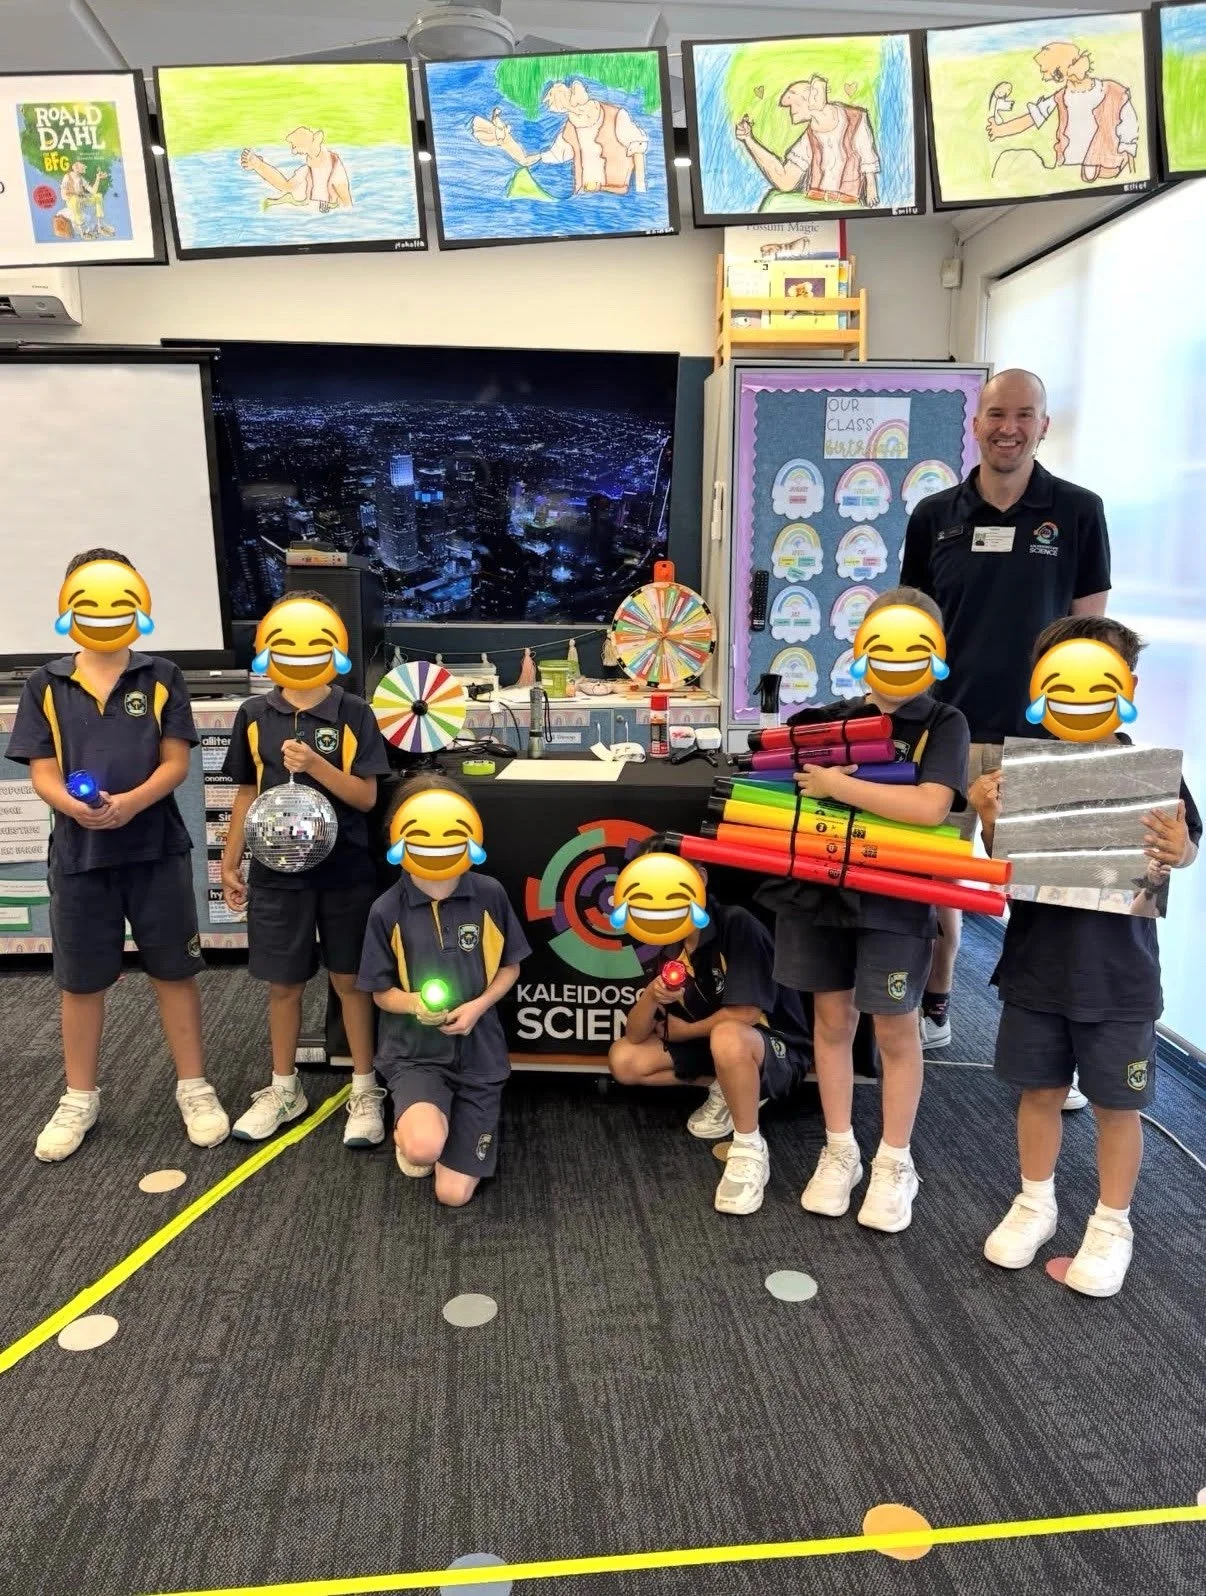
Musical straw, boomwhackers, singing rod & vibrating balloons
*Demonstrations performed will be customised to suit the audience age and may depend on venue or time constraints.
-
$785 per show (incl. GST)
-
Sydney, Central Coast & Newcastle
-
Up to 150 students per show
-
Years K-6
-
Set up: 30-60 minutes
Show: 60 minutes
Pack up: 30-60 minutes
-
Darkened, indoor venue with power outlet & space for students to sit
Accessible off-street parking for the duration of our visit, allowing for a 1-hour set up and pack up time
(optional) 2x trestle tables, if available
-
This show features an optional demonstration which uses a strobe light. These kinds of lights may affect people with light-sensitive epilepsy. We will consult with teachers before each show but also request that you kindly inform us at your earliest convenience if there may be any people with light-sensitive epilepsy in attendance.
-
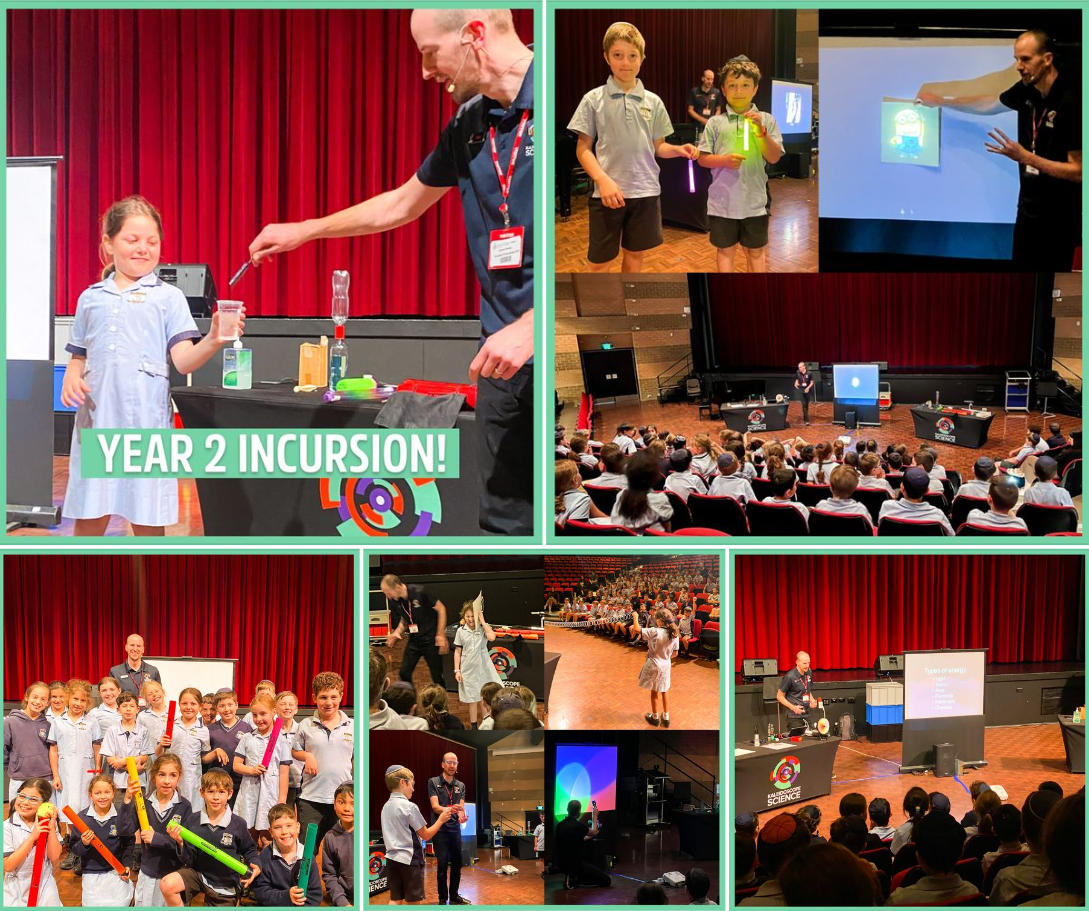
Look! Listen! (Year 1)
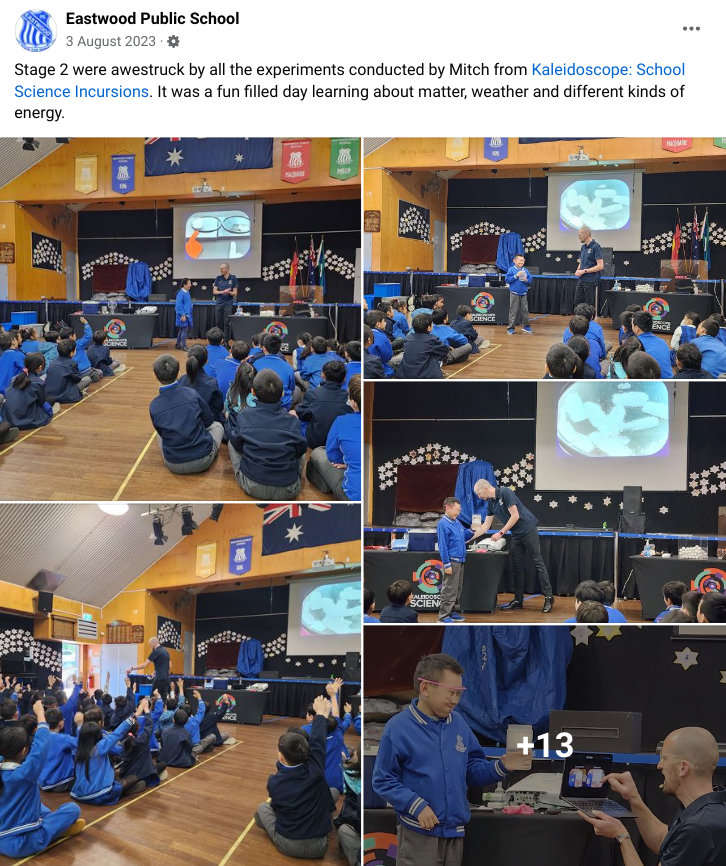
Photos:


Latest REVIEWS:
FROM FACEBOOK:


①
Book us
②
Book a space
in your school
③
We do the rest!
We come to you - no buses ✓
Fully insured & risk assessed ✓
Teachers only required for supervision ✓
Aligned with the Australian Curriculum standards ✓
“Understanding is joyous”
Banner image: Enoch Lau (CC BY-SA 3.0, via Wikimedia Commons)
Additional photography: Phil Swaisland